
 |
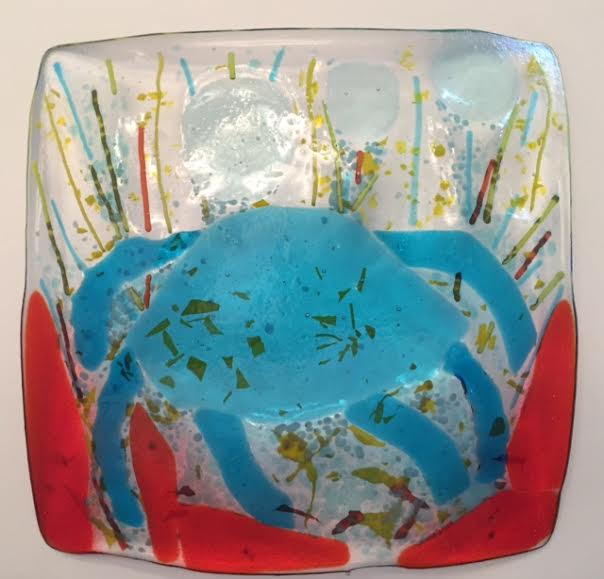
| Scrap project using plate glass, stringers, confetti, and frit from a large bin of discarded pieces - from the top image |
 | |
|
I have since learned several lessons under the heading of ".....all glass is NOT transparent!" Solid opalescent sheet glass, for example, may fire the color it appears to be when in a "new" sheet, OR it may become another color. Pimento red glass coming out of the kiln, for example, begins as a sunny, warm yellow. Fired canary yellow begins as an unassuming, pale spring green.
Some solid transparent sheets can also surprise you in this before and after transformation triggered by heat.
So, what is the solution to these chameleon-like glass properties? Keep the code number ON you glass AND keep the company catalog (Bullseye, for example,) within arm's reach! When you plan to construct with a lovely pumpkin orange (1322,) for example, decide if the magenta color it turns once fired will still make a stunning piece of candy corn for that Halloween decor or will the pale green (1025) feel like a delicate spring stem and leaves in shocking orange.
Recently I made a small pair of button earrings and planned to glue posts on the back and wear them with denim. The layers of the glass I used started with French vanilla on the bottom, cyan frit in the middle, and 'what I though was a clear cap' on the top. As you may have guess, the clear cap was really some clear reactive as in the bubbles in the crab above, and so my lovely blue and white buttons were a hazy white - not what I had planned and very disappointing.
I would like to say I learned from this mistake and have been sure not to repeat it, however........
HAPPY PI DAY! (3.14.16)


